
Window Shade Installation Guide for Bay Area Homes
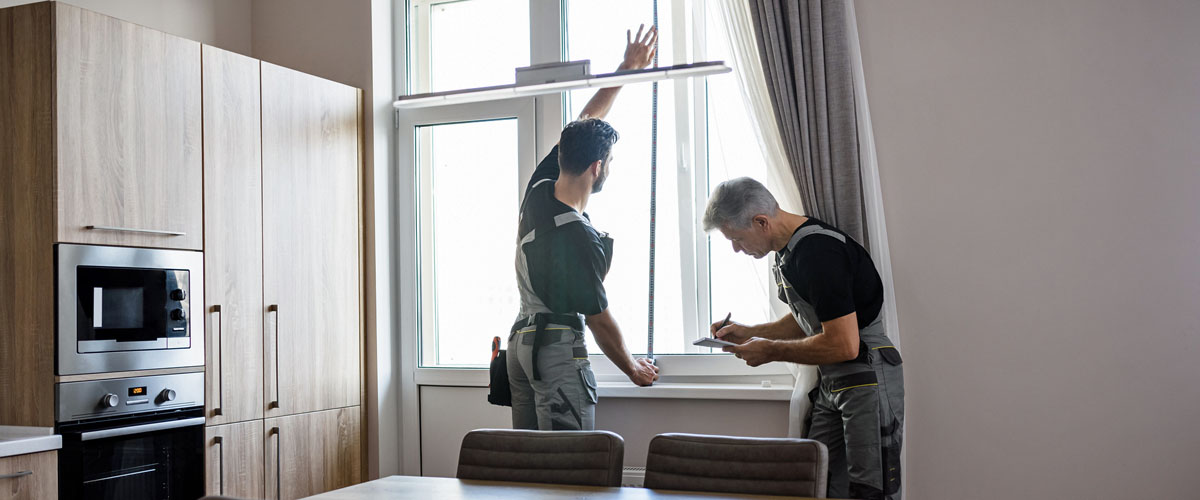
A window shade installation guide should begin well before a bracket meets the wall. In a San Francisco Victorian with uneven plaster, a Marin home with expansive glass, or a commercial office facing afternoon sun, the finished result depends on decisions made during measuring, product selection, and site preparation. The goal is not simply to cover a window. It is to create clean lines, dependable operation, and light control that supports the way the room is used.
Custom shades are designed around the opening, the architecture, and the client’s priorities. That makes installation feel simple when it is planned correctly, but it also means small errors can become visible quickly. A shade mounted a fraction too high can leave an awkward gap. A depth issue can prevent a cassette from sitting flush. Motorized systems need a power plan before walls are finished, not after the room is complete.
Start With the Right Mounting Decision
The first choice is whether the shade will be installed inside the window frame or outside it. Neither approach is universally better. The right one depends on the window’s depth, trim, privacy requirements, and the visual effect you want to achieve.
An inside mount places the shade within the window opening. It offers a tailored, architectural appearance and preserves decorative casing, which is especially appealing in homes with strong original millwork. The frame must be square enough for the product, however, and it needs sufficient clear depth. A shallow opening may accommodate a standard roller shade but not a larger cassette, a dual-shade system, or certain cellular shade configurations.
An outside mount is installed above or beyond the opening. It can make a modest window feel taller, improve coverage around the edges, and solve uneven or out-of-square openings. This is often the better choice when room-darkening performance matters, since it reduces the light gaps inherent to most inside mounts. For bedrooms, media rooms, and windows with minimal recess depth, outside mounting is frequently the more practical solution.
Before committing, consider what happens when the shade is raised. A fabric shade stack, cassette, or headrail needs a home. On windows with narrow trim, nearby crown molding, sprinkler heads, or door swings, that detail deserves careful review.
Measure for the Shade, Not Just the Window
Accurate measurements are the foundation of every successful window shade installation guide. Measure width, height, and depth in more than one location, because older Bay Area homes rarely offer perfectly consistent openings.
For an inside mount, measure the width at the top, middle, and bottom of the opening. Record the narrowest width unless the manufacturer’s ordering instructions specify otherwise. Measure height on the left, center, and right, then note the longest measurement. Depth should be measured from the front edge of the usable recess to the closest obstruction, such as a crank handle, molding detail, or window lock.
For an outside mount, determine the finished coverage you want rather than measuring only the glass. Extend the shade beyond the opening to improve privacy and light control, while leaving enough solid mounting surface for the brackets. The exact overlap depends on the product and site conditions, but the decision should be intentional. A shade that barely covers the glass may look undersized and allow distracting light at the edges.
Also identify obstructions before ordering. Window handles, alarm sensors, recessed trim, tile, and protruding sills can all influence bracket placement and fabric clearance. In commercial settings, look for HVAC diffusers, ceiling systems, fire safety components, and mullion conditions that may affect the installation approach.
Choose Hardware That Suits the Surface
Brackets are only as reliable as the surface supporting them. Wood framing provides the strongest and most straightforward installation point. Drywall may require anchors when no stud is available, but anchor selection must match the product’s weight and the wall condition. Heavy woven shades, wide roller shades, layered treatments, and motorized hardware place greater demands on the mounting surface than a small manual shade.
Do not assume every wall is standard drywall. Historic homes may have lath and plaster. Concrete and steel conditions are common in multifamily and commercial projects. Tile, stone, and specialty wall finishes require the correct bit, fastener, and drilling technique to prevent cracking or surface damage.
This is one reason professional installation adds value beyond convenience. An experienced installer can identify when the ideal visual location is not the right structural location, then adjust the plan without compromising the finished design.
Confirm Level Lines Before Drilling
Use a level and mark each bracket position before drilling any holes. The headrail or roller must be level for smooth operation and a polished appearance. On wide shades, follow the manufacturer’s requirements for center support brackets. Skipping them can cause sagging, uneven rolling, or long-term strain on the hardware.
For outside-mounted shades, step back after marking the bracket line. Confirm that the position relates well to the window trim, nearby windows, and ceiling line. A technically level shade can still look misaligned if it ignores the room’s visual geometry.
Install the Shade With Function in Mind
Once brackets are secure, engage the shade according to the product’s installation sequence. Roller shades typically seat into one bracket and lock into another. Cellular, Roman, and horizontal shade systems may snap or clip into mounting brackets. Avoid forcing a mechanism into place. If it does not engage smoothly, pause and inspect the bracket orientation, spacing, and hardware alignment.
After mounting, test the shade through its full travel several times. It should raise and lower evenly, stop where expected, and clear handles or other projections. Check the fabric roll from both sides. A roller shade that tracks to one side may need an adjustment before it is used regularly.
For manual shades, confirm that the chain, cord, or handle is positioned for safe, comfortable use. Corded systems require the appropriate tension device or safety hardware, installed exactly as directed. This is particularly important in family homes, guest rooms, childcare environments, and public-facing commercial spaces.
Plan Motorization Early
Motorized window coverings are often selected for convenience, but their installation details deserve the same design attention as the fabric and hardware. PowerView, Lutron, and other premium systems may operate with battery power, plug-in power, or hardwired power. Each option has advantages.
Battery-powered shades can be an excellent choice for finished rooms where opening walls is not desirable. They offer a clean result and flexible placement, although batteries will eventually need service. Plug-in systems are practical when an outlet can be discreetly located nearby. Hardwired shades provide a refined long-term solution for new construction and major renovations, especially where multiple window coverings will be automated together.
The earlier the power strategy is decided, the better. Coordinate with the electrician, architect, designer, and installer before drywall and finish work begin. This avoids visible wiring, awkward outlet placement, or last-minute compromises in shade location.
Programming should happen after every shade is installed and tested. Establish upper and lower limits, name each room clearly, and create scenes that reflect daily use. A morning scene might raise kitchen shades while preserving privacy in bedrooms. An afternoon scene can reduce glare on a home office screen or protect furnishings from direct sun.
Finish With the Details That Make It Look Custom
Installation is complete only when the shade looks intentional from across the room and operates effortlessly at the window. Check that the fabric is clean, the hem hangs straight, and the brackets or fascia align with the surrounding architecture. If the window is part of a larger composition, such as a wall of glass or a bank of adjacent openings, confirm that the shade heights and visual lines are consistent.
Layered treatments deserve special attention. A solar shade may handle daytime glare while drapery panels bring softness and evening privacy. A Roman shade can add tailored color and texture, but its stack height must be considered so it does not obscure too much glass when raised. These combinations are where technical installation and interior design become inseparable.
For clients who want a polished result without measurement uncertainty or coordination gaps, Blinds & Designs brings product knowledge, design perspective, and professional installation together. The most successful window treatments are not merely mounted correctly. They feel like they belonged in the room from the beginning.
Window Shade Measuring & Installation in Atherton and San Francisco CA Areas
Blinds & Designs offers a full line of quality window treatments to homeowners and commercial clients throughout the San Francisco Bay Area and Marin County areas, including Burlingame, Hillsborough, Atherton, and Los Altos. With an ongoing commitment to high quality products and exceptional service, we’ve been serving our communities for over 26 years.
Stop by our showrooms in San Francisco or Belvedere-Tiburon to see a variety of motorization displays in our showroom or call 415-921-4212 Ext 101 for more information.